.png)
.png)
Learn how to use the workflow and the master email templates to make it fit with the products you sell.
Start by watching the video below. Then feel free to jump to specific section to find the answer you need.
/lead-Routing-Illustration.png?width=400&height=330&name=lead-Routing-Illustration.png)
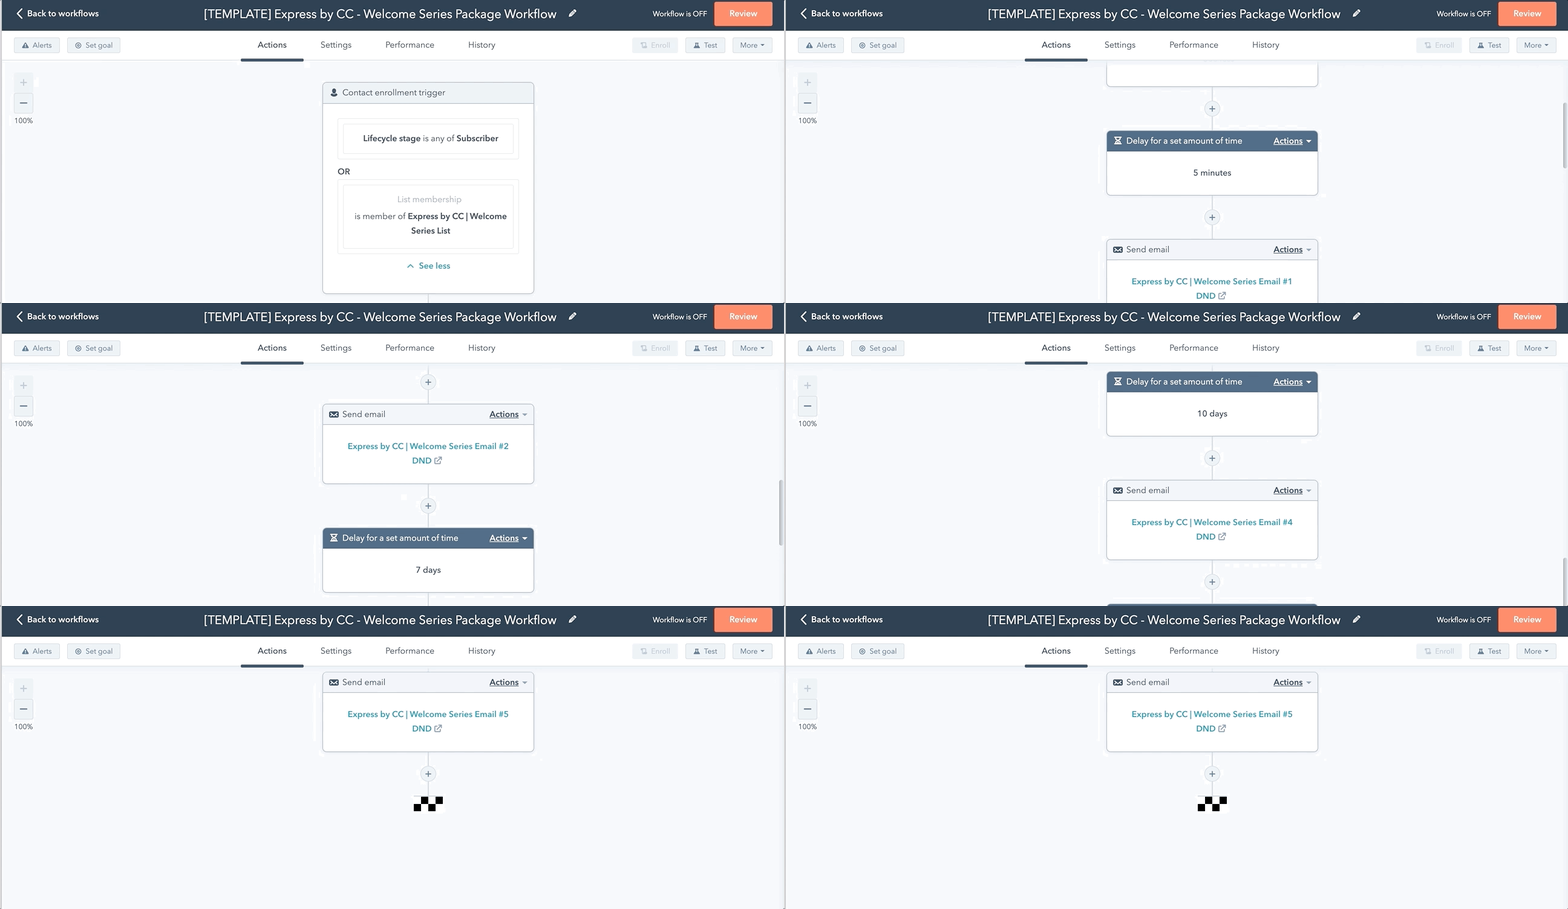
All enrollment triggers, delays, and emails are attached to your workflow and should look like this. Here is an example of your Lead Routing workflow.
You can choose between a couple of enrollment triggers depending on how your leads are routed. The most efficient method would be using a form that is tied to when a new lead is created in HubSpot.
Every business will have different sales territories. Make sure to spend time setting up the proper sales reps to their assigned territory. Please watch the video to learn how to add more "If/then" branches based on the prospect's location.
Feel free to add or edit the delays. For example, if you want to only send on "weekdays", click the "+", then "Delay until a day or time", and then choose the days or times emails should be sent.


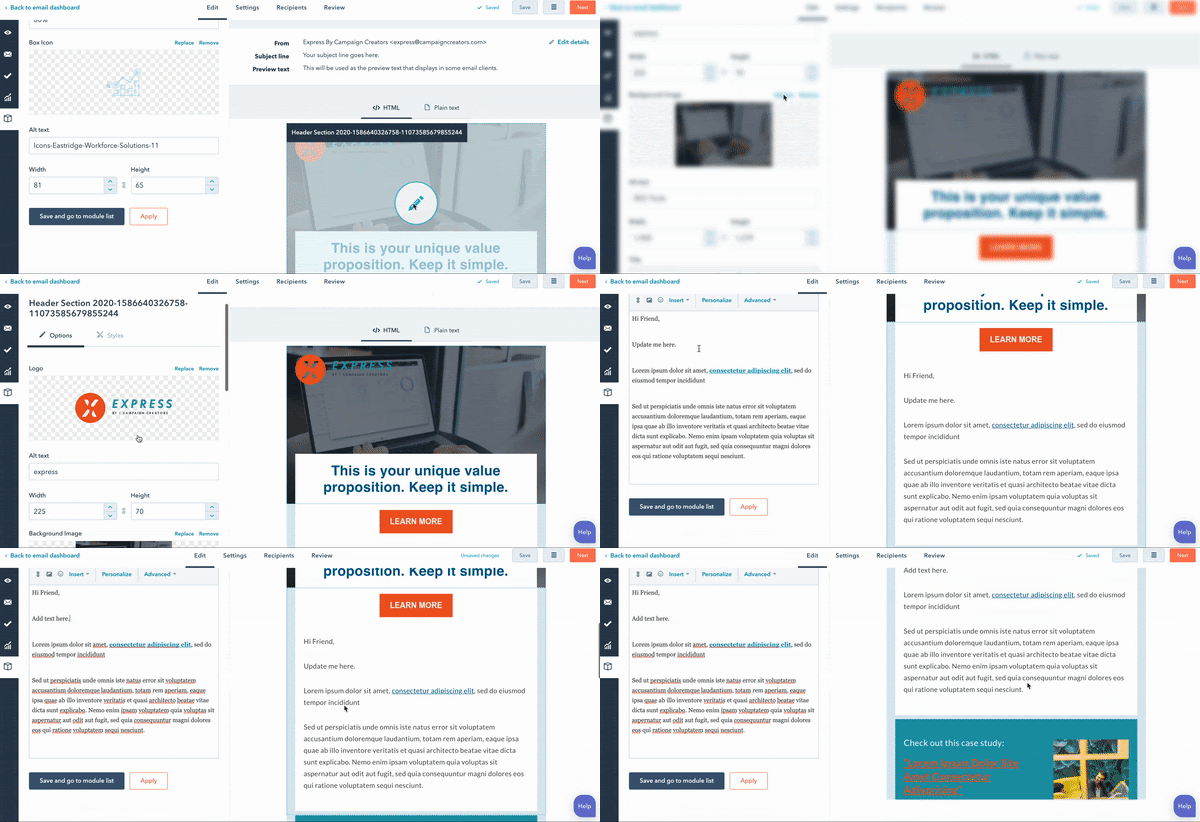
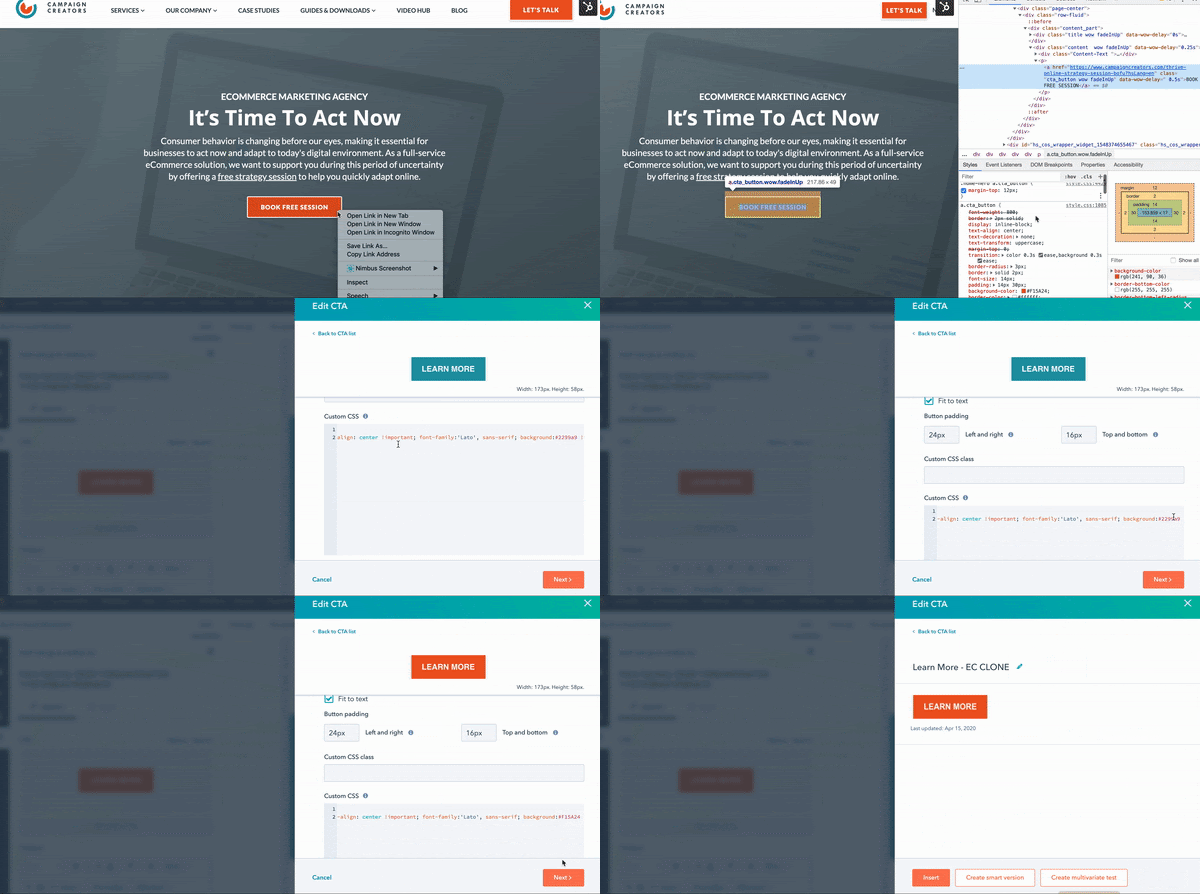
The editor makes it easy for you to quickly customize these templates based on your branding standards. Check out this quick how to that shows how you can apply your branding colors to the email template in HubSpot.

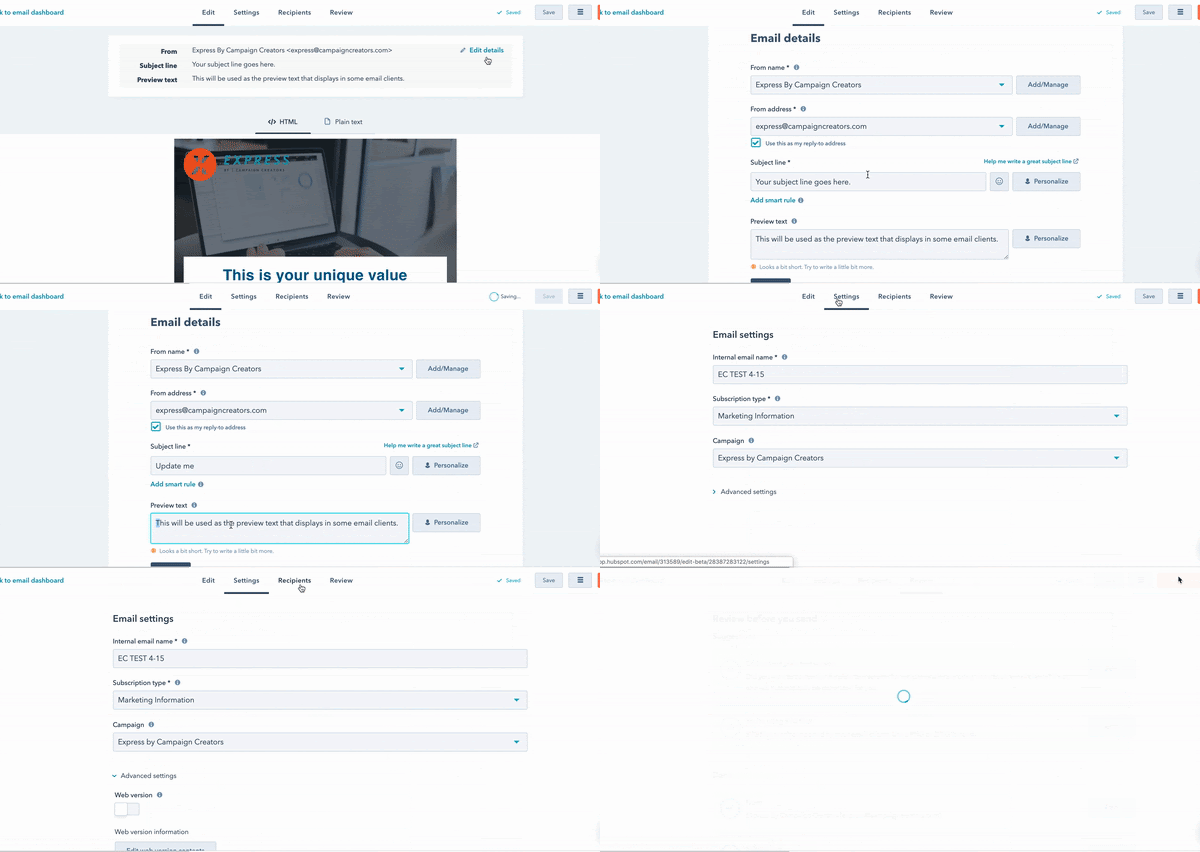
Once you update your email copy and branding, you’ll need to update and save the emails for automation. This makes sure your emails attached to your Lead Routing workflow are updated with your changes.

Have additional questions? Email us at support@campaignwizard.io.
(858) 633-1915
7975 Raytheon Rd. Suite 310, San Diego, CA 92111